[First cuts on my cloth]
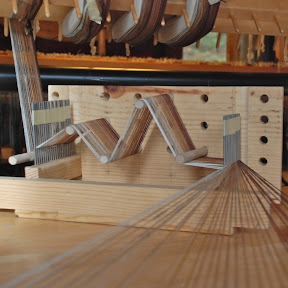
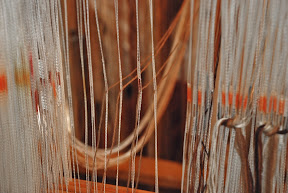
Yesterday was another big milestone: the first time cutting and sewing my own handwoven cloth. Before my year of production apprenticeship I was really a dabbler, warping the loom for a few custom pieces at a time and hand binding all the edges on the loom.
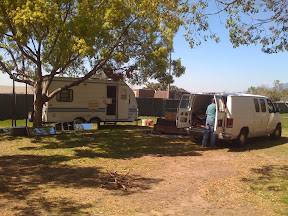
I've finally finished weaving the contract work that needed to be delivered before the faire and set up a new sewing table with good lighting. Yesterday and today are my prototyping days. By tonight I will have made some decisions about what styles I'm producing. Then it'll be quick stitching day and night to make enough merchandise for a nice display on the first weekend.
After that, I'll be modifying my designs every week based on customer feedback and producing the new merchandise in time for the next weekend's show. At the end of seven weekends and thousands of customers, I should have a good idea what people like.
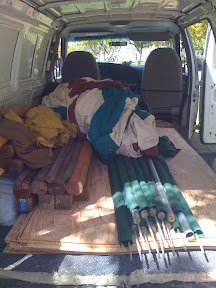
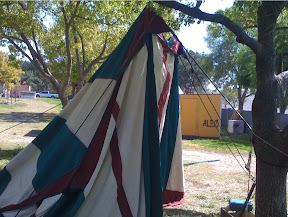
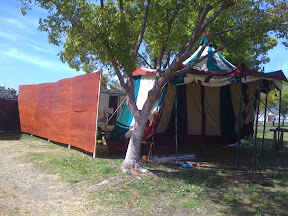
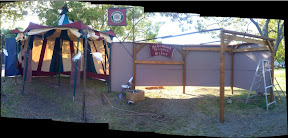
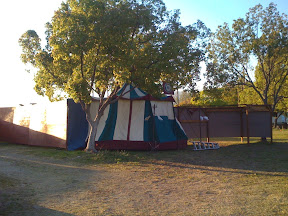
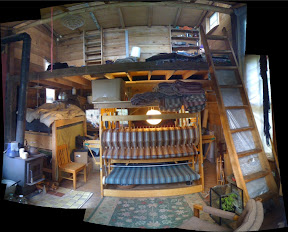
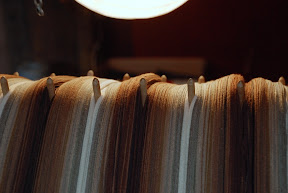
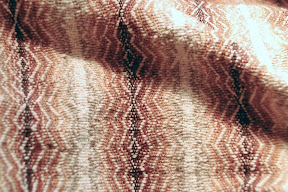
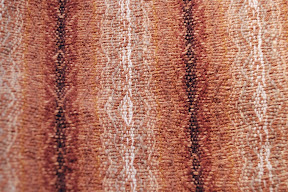
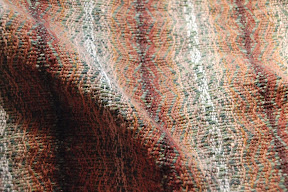
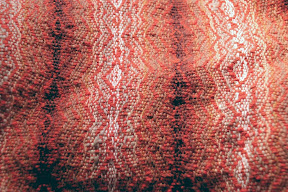
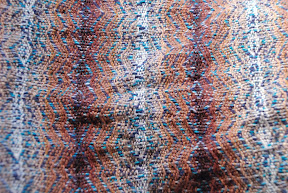
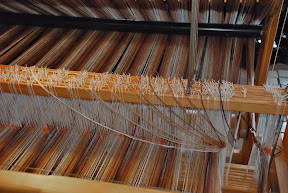
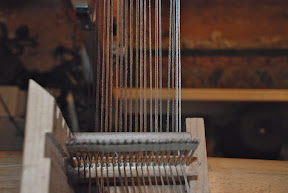
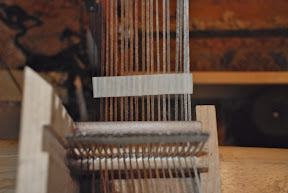
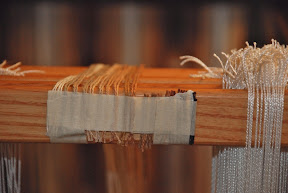
Here are a few snapshots of yesterday's work...
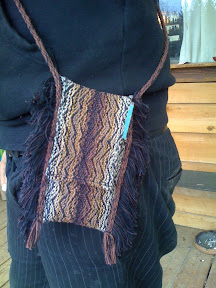
[Tobacco Pouch, modeled by Piwacket]
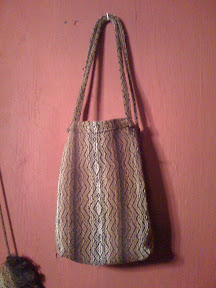
[Mini Tote]
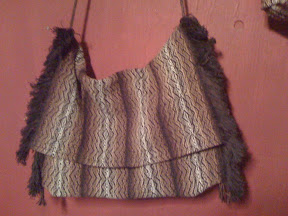
[Shoulder Bag]