Monday, November 25, 2013

Daily Routine

Now that I've finished the most important setup tasks, my days are starting to take on a recognizable structure:

1. Exercise. Hike, do yoga, or both.
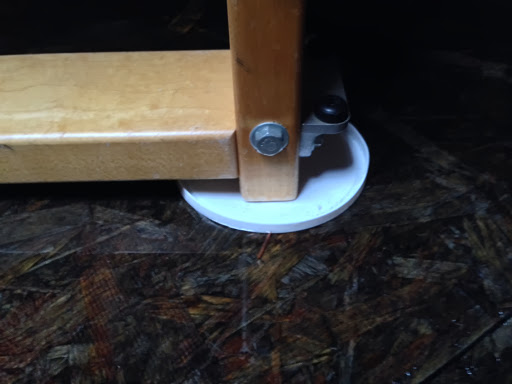
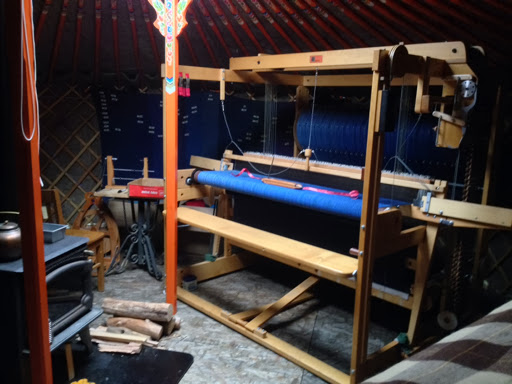
2. Weave. The light on the loom is best in the morning.
3. Work on homestead projects. They're never-ending, but I can make good progress if I put in a few hours a day.
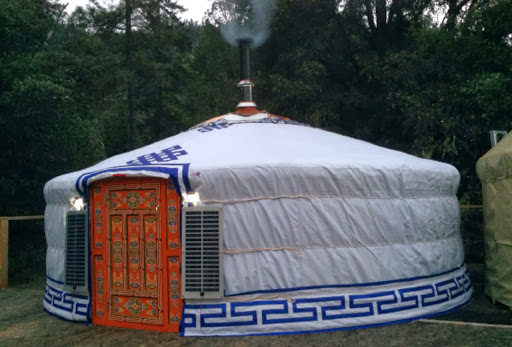
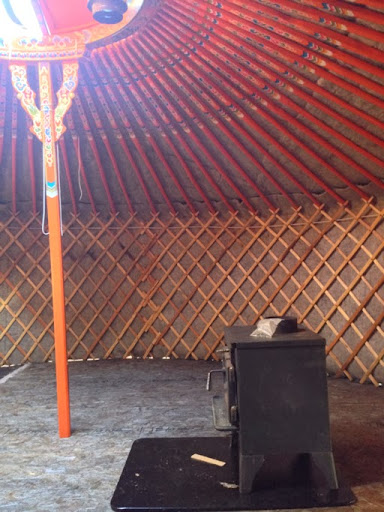
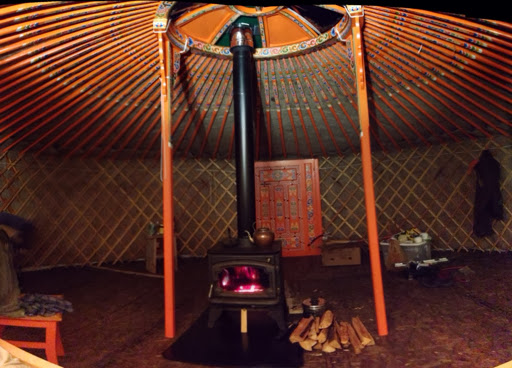
4. Chop wood. I burn little pieces to keep the yurt from getting too hot.
5. Make dinner. I never make anything too complicated so it's pretty quick.
6. Relax by the fire. Read by bright candle light. It's wintertime. Darkness comes early and my personal energy is low.

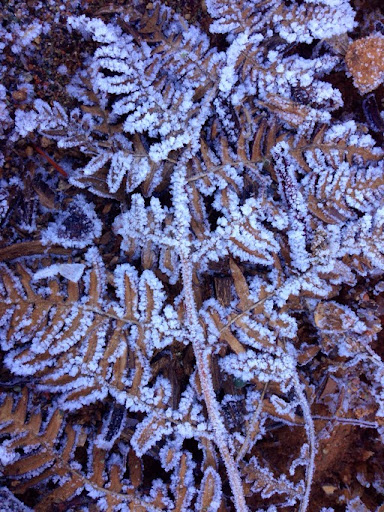
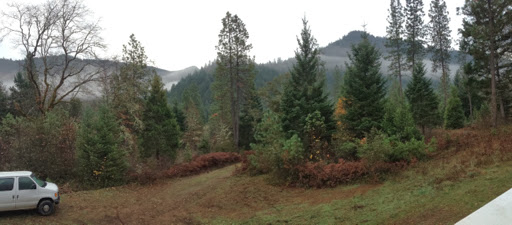
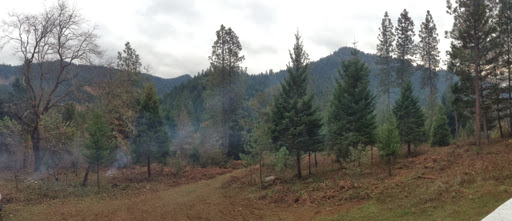
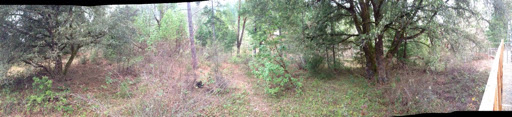
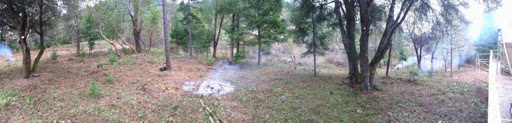
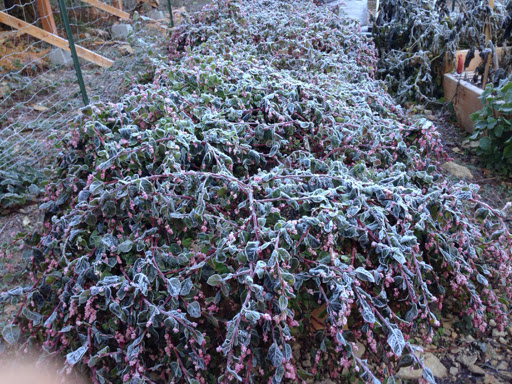
On my morning hikes I get to see some beautiful patterns created by the nightly freezes.

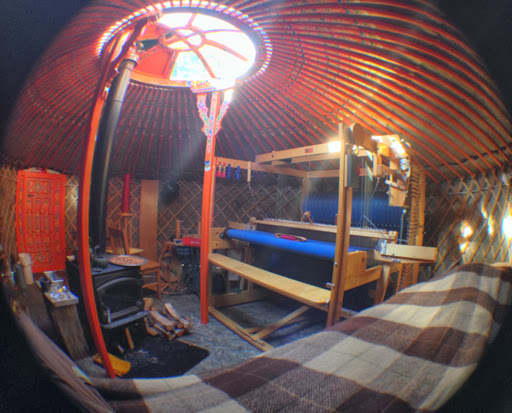
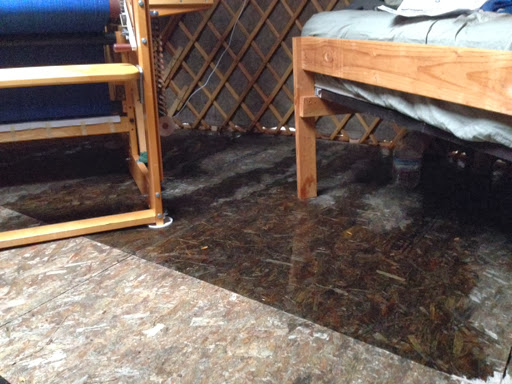
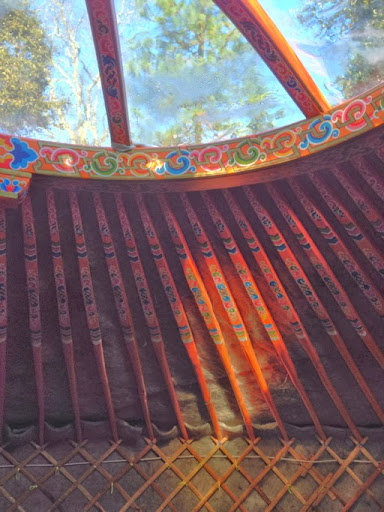
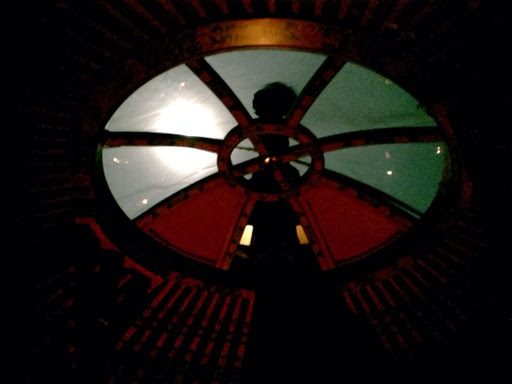
Here's another snapshot of my weaving setup, this time with a fisheye lens. It's a pretty amazing place to work.

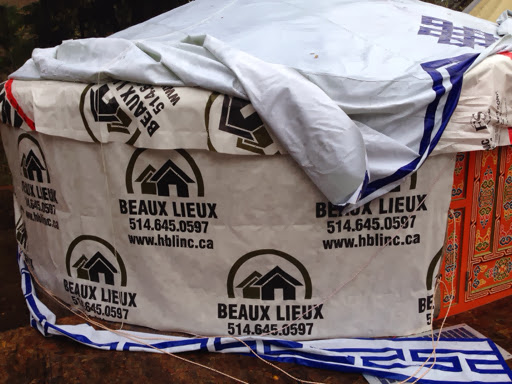
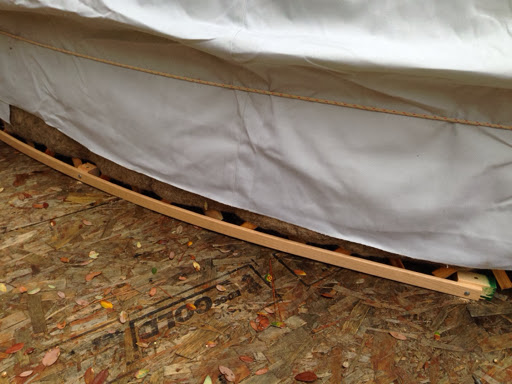
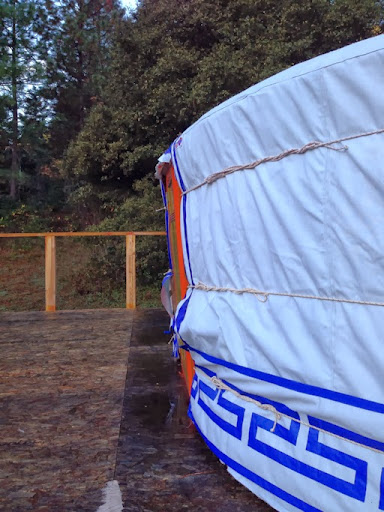
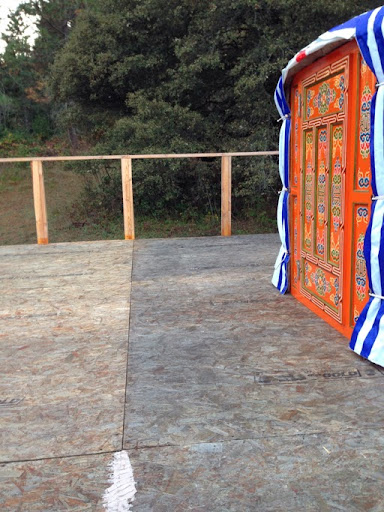
Today's homestead project is to widen the curb around the yurt. This will do a better job of waterproofing the floor and give a nice wide surface to seal up the air leaks around the bottom.

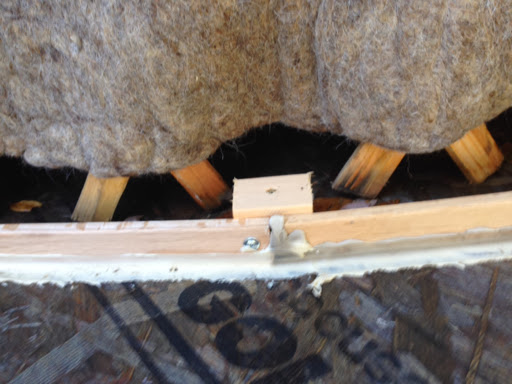
Here is the current narrow curb.

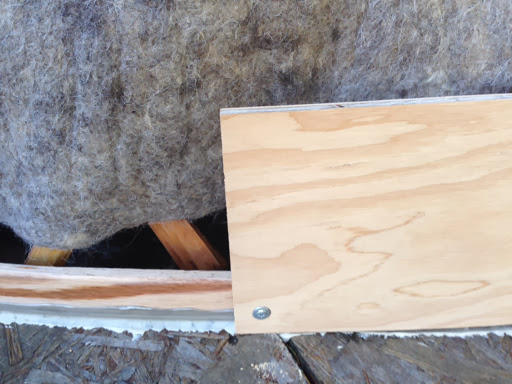
And here's a 6" strip of 3/8" plywood being attached to the other strip.

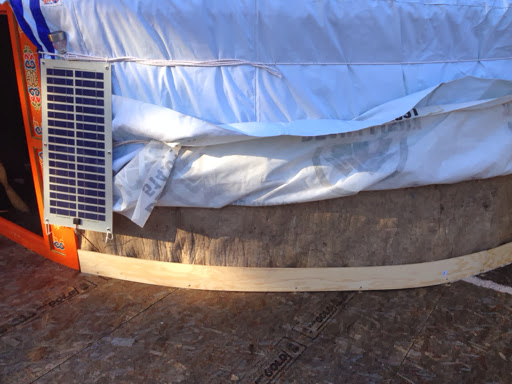
The new curb runs around the whole bottom edge. Tomorrow it will get sealed against the deck with exterior-grade silicone caulking. If this doesn't work, I'll add a high-powered flexible flashing to the mix next week.

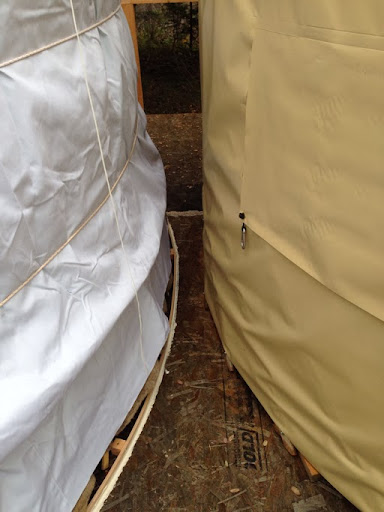
Once the caulking has cured, the curb will be painted with linseed oil, too, to keep it from wicking water up to the wool. This new curb will give a surface to which I could attach it.

As you can see, the wool and lattice will go on the inside. The house wrap and canvas go on the outside.

My next task today was to start dealing with the indigo.

The goal with the indigo this year was to watch its life cycle and see if it could go to seed here. Unfortunately, it went in the ground so late that I don't know for sure if it would have. I think it was quite close to producing seed when the cold weather came. Next year it'll go in the ground earlier and have a greenhouse over it by the time winter comes.

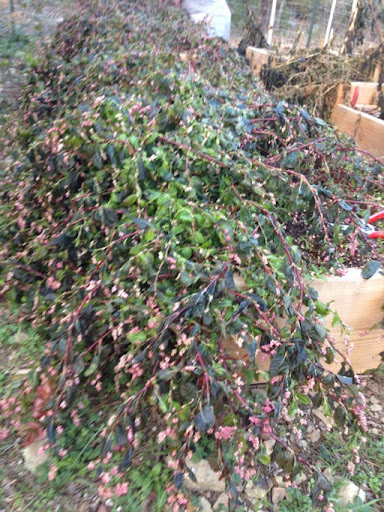
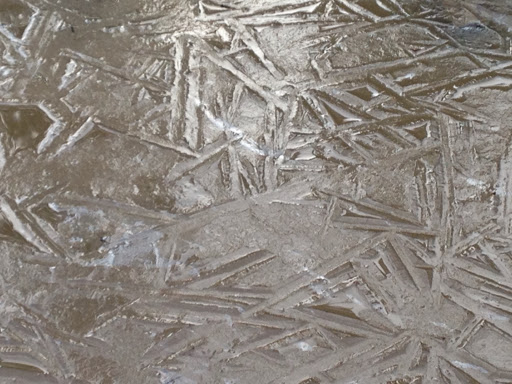
Here's what it looks like when the ice melts. It's one frost-bitten and wet mess.

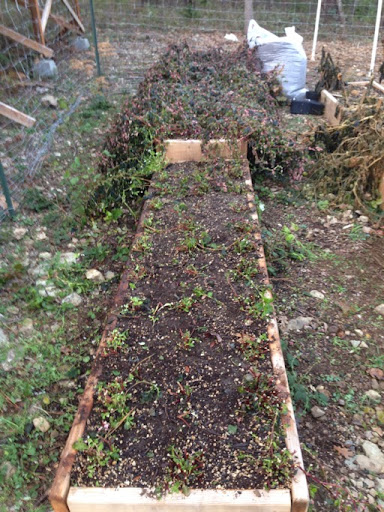
So I got out the pruners and harvested one bed of it today. I'm going to put straw over those little stumps to see if it'll act like a perennial in this climate.

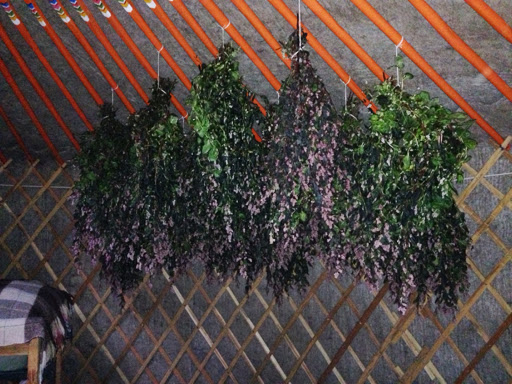
And here's where it all went. I've got the stove fired up kind of hot and a little fan pushing the heat into the moist jungle to get it dried as quickly as possible. It'll probably end up spread onto a screen in a day or two once the outer leaves are dry.

I still don't know exactly how I'm going to process this, but I know that the leaves can be stored once they're dry while I learn how to ferment them and start a dye vat.

Having all this moisture in the house will definitely help my sinuses. The air has been very dry with the stove going. It smells nice, just fresh and faintly green.

Tuesday, November 19, 2013

Water Emergency

Well, so much for weaving today!

We had our first sustained hard rain since I put up the new yurt and both aspects of my waterproofing have failed spectacularly.

The first thing I noticed was water passing under my caulked curb as if it wasn't even there. I'm spending the day mopping water away from the lattice and drying towels over the stove. Back to the drawing board!

I knew this was a possibility so I put the loom up on yogurt lids to keep it dry.

Next, I noticed that some of the water in the yurt was dripping from the wool to the inside of the curb.

Alert! Alert! Alert!

I realized that the canvas cover was conducting water through to the Tyvek. Since I didn't expect this, I was lazy about how I installed that layer. The roof drained to the INSIDE of the Tyvek layer on the walls.

Well, I yanked up the outer cover and changed that overlap in a hurry.

Now the roof sheds away from the wool.

So now I've cranked up the wood stove and used soup cans to create a vent so I can dry out the wool as fast as possible. It only got wet in a couple of places, but I do not want that moisture transferring to the lattice or sitting in the wool for very long.

Monday, November 18, 2013

Weaving In The Yurt

First, another glamor shot. I finally got the yurt weatherproofed enough that I'm starting to think about other things like little lights so the door is easier to negotiate at night. Doesn't that look like the coziest and most magical home studio ever? It really is.

And finally, the moment I've been working for years to create... I now weave my cloth in an off-grid, wood-heated yurt in the forest.

I remember a conversation that I had with the sales associate at AVL when I went to pick up my loom in February of 2009. She wanted to sell me a computer interface for the loom to replace the all-mechanical dobby box. I told her that I would be moving into a yurt in the forest without enough electricity to power a computer. She was incredulous but fascinated. Every time we spoke on the phone she would ask about my progress. It's taken a little longer than I expected, almost five years, but I'm here now!

Between the loom, the bobbin winding station, and the shelves of thread, half of the floor space will be consumed. I'll bring in a personal shelf, a small table and a couple of chairs and that'll be it. Nothing more will fit in here.

While I was weaving my first batch of cloth in the yurt, the crews hired by the county were fulfilling a fire abatement grant that I got approved for this summer. This grant paid to clear the underbrush and ladder fuels in a 200 foot circle around my home.

View from the front steps, before and after the forestry work.

Same thing from the back steps.

They did a great job and got it all done in one day. It's going to take me a little time to get used to how different it looks, but my place is still invisible from the road and from all of the neighbors. This is very good.

Saturday, November 16, 2013

Loom Placed, Solar In.

I'm taking a lot of time to sit with the placement of the loom in the yurt because once it's done it will be very difficult to move. Because of the roof support columns, it cannot simply be dragged to a new location. It needs to be disassembled if I want to move it.

This was my first attempt. It was extremely tight, but allowed free access to the beam. As I sat with it, I realized that I don't need that. I won't be winding beams on this loom in this tight space. I will be winding them on a custom-built winding station located elsewhere. And, yes, I just made that up. Turns out that fitting my weaving studio into a yurt is causing me to "make up" lots of things. Let's call it design.

Here's the second (and current) location of the loom. It feels much more natural and will allow the best light to illuminate my work.

Here are a couple shots of the loom in the "working" location. The beam will fit into the space between the loom and the wall, but could not be loaded onto the loom in this position.

And here are a couple shots of it in "beam loading" position.

It will require removing the bench and the horizontal piece with the treadles attached so it can straddle the support column. This takes five minutes and will only need to be done once a month at most, when I swap beams on the loom.

In that last shot, you'll notice that there is a little water leaking into the yurt. I'm pretty sure that the tongue and groove joints where the sheets join are giving channels for water to flow under the curb. When it dries out again, I'll fill that joint with caulk.

In the meantime, I just have to deal with water on the floor and do what's necessary to keep the loom dry.

With the stove fired up, the air was getting a little dry in here anyhow. Water on the floor will cure that in a hurry.

The other stepping stone of progress yesterday was setting up the teensy solar array. It's only 60 watts, but is plenty to keep the power tools and phone charged, power the lights for a few hours if I have evening guests, and power the computer for a couple hours once a week or so.

It's the new look for the eNomad. If you squint your eyes and stand a good ways back, it looks just like shutters.

And inside you'll notice that I left extra cable so the panels can go on the roof when I figure out a way to attach them up there.

The day ended with a surprise light show. I had to stop and stare for a while. Photos can never capture the color intensity or the dimensionality of a scene like this. It was truly breathtaking.

Thursday, November 14, 2013

Dry Floor Means Time To Bring In A Loom

First, a little dose of beauty from Cloud Nine. This is a time lapse movie of the clouds across the valley as their image passes through the skylight to be projected upside down onto the wall. It's sped up 24x to make it more obvious, but it's just as mesmerizing in person. Oh, yeah, and in real life, this effect spans all 360 degrees of the yurt interior. I just don't have a way to photograph that. Yet.

After my morning meditation, this was another day of hurrying to beat the weather. It's supposed to rain this afternoon and I really needed to get caulk down and cured before that happened. Otherwise, I'd be waiting for another two days in a row with no rain to dry the deck out again.

Remember that my deck slopes eight inches from the back to the front? This was done by design so that I can use it as a catchment surface, directing all of the water into a gutter and funneling it into a holding tank. That's later, by the way. Right now I'm just working on having a dry place to live and work.

To keep the water from running under the yurts, I planned to install flexible wooden curbs and caulk under them.

It's pretty simple, really. I screw blocks into the deck and then screw wooden strips into the blocks.

Like any project, it really pays to think it all the way through before beginning. See how little space there is between the two yurts? I didn't think about how I would attach the curb in that space. (Try to ignore that the curb and caulk are already down. I didn't take a 'before' picture.)

So I ended up using a spare block to hold the curb in place and lifting the skirt on the other yurt so I could screw it into place from inside of there. If I had it to do over, I'd attach the curb to the block first, slide it between the two yurts and then screw down the block. But, remember, I have weather looming. I just did whatever I thought would be fastest.

After the curb was down I applied the caulk. When it's dry, I'll pull down the canvas, making sure that both the Tyvek and the canvas are on the outside of the curb. When it rains this afternoon we'll see whether it works. Fingers crossed!

And now I'm going to get the parts for one of my loom frames. It will really help me decide how the space is to be laid out if I can see and feel the size of one of those beasts in here. I know it's going to be tight!

I got the yurt parts home and decided to unload them all against the wall to conserve heat in the yurt. (The warmer I can keep it, the quicker and better the caulk will cure.) Thirty seconds after I snapped this shot it started sprinkling. I RAN those parts inside and zipped around the outside of the yurt pulling the cover down so the rain would drip outside of the new curb.

Here's how I keep myself from laying in bed until the loom is done. These are the last parts that will go on the loom. I can't lay down and stare at the ceiling until the loom is built.

Well, here's what I came up with. I can watch the fire from bed, morning light illuminates the loom, and I can access every part of it that I need to.


The loom BARELY fits in here. There definitely is not room for two looms because I need to leave clearance around the stove. It's fine since I really only need two looms in operation during the summer months anyhow. When the time comes I'll set up the second loom under a canopy on the deck. Until then, I can weave perfectly fine on one loom in here.

And now it's time to eat dinner and look at the ceiling for a little while before bed. G'nite!

Yurts Are Stable!

First, a glamor shot.

My friends have asked me how I expect to get any work done when my environment is so beautiful that I just want to stare at it. The answer is that I don't know. I do spend a lot of time looking up at the ceiling.

Aaand, I do get plenty of work done, too, somehow. Today I got bold and moved the entire yurt back about two feet while straightening up the door.

Door before, leaning out.

Door after, upright and back a couple feet.

This was actually pretty easy to achieve. A friend came over to spot me while I jostled the lattice walls a little at a time. I stretched the yurt to an oval and contracted it back to a circle, over and over, a few inches at a time.

The stove gives a good idea of how far the yurt moved. See where the pipe ended up?

Then some friends came over to see the new place and treat me to a new experience: an iPad-based home show. They were selecting a cloak for Mom and couldn't decide on a color so called her up on video chat and got her feedback.

Here's a panorama of their shopping environment. Even with all of my possessions out on the deck, it's a beautiful place to shop if I do say so myself.

We had a lot of fun! This is Chandra, who commissioned the first short cloak and launched a whole new product line. I still call that length "The Chandra" in her honor.

I finally brought in some light. This is one of the strips from my booth. I switched to LED lights in the booth so I could run it off a battery if I had to. A side benefit is that I can bring the lights into my home when I'm not at a show.

See how nice it looks? And with the stove hooked back up it's toasty, too.

I switched back to candle light for my evening meditation and watched the moon travel across the skylight. Good night!